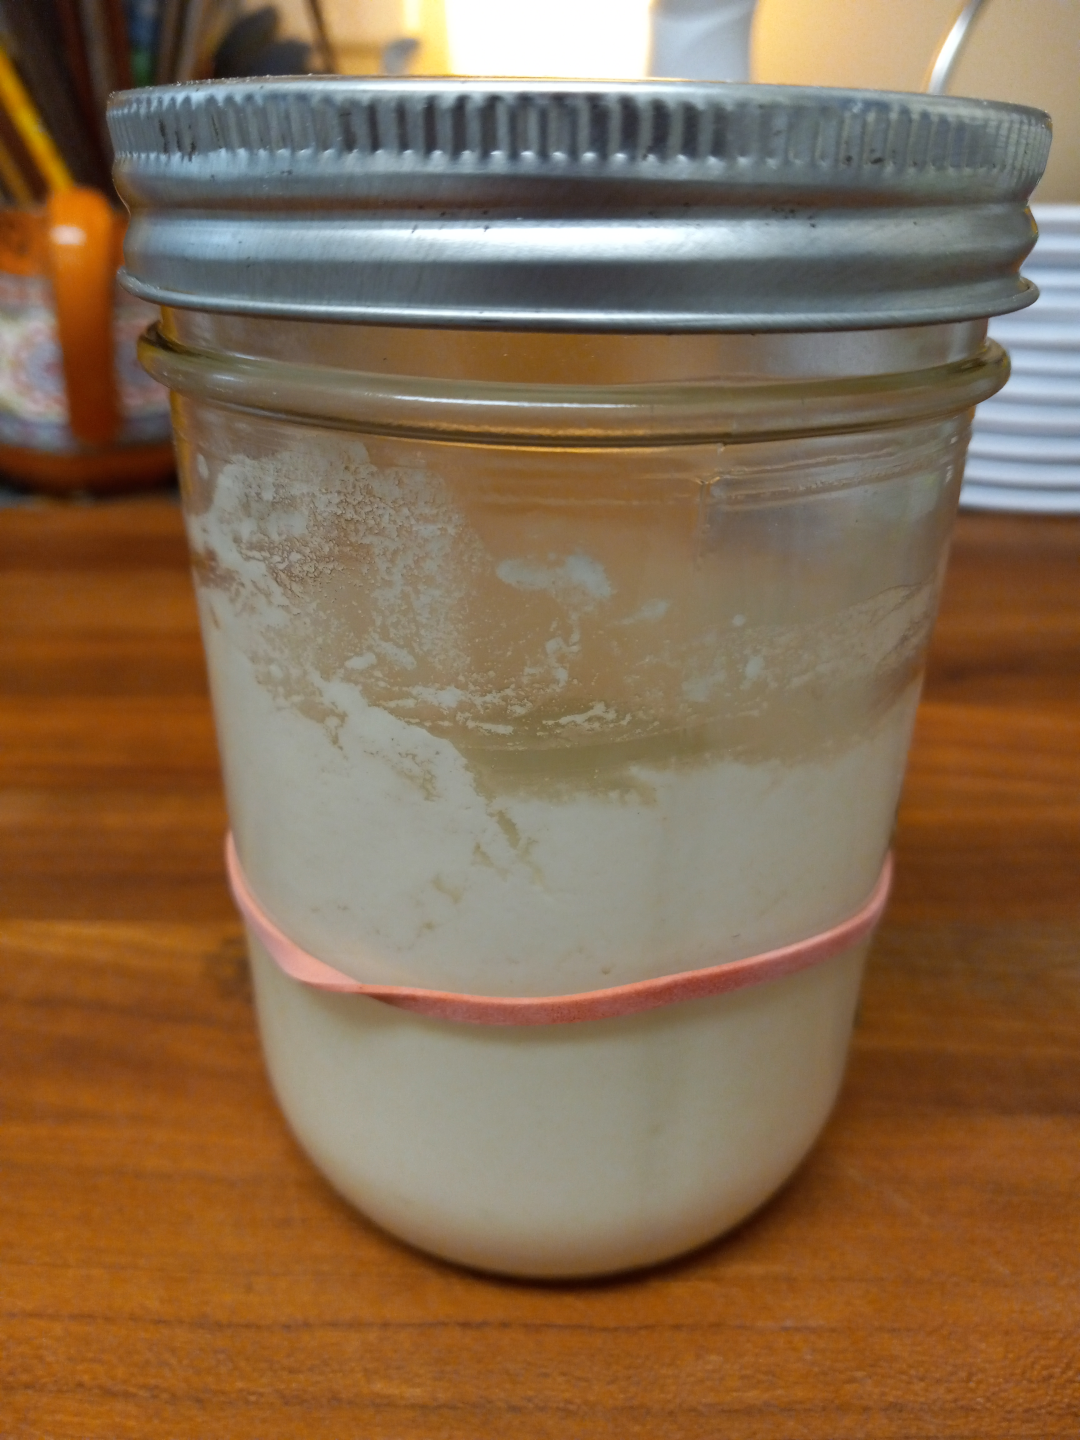
Sourdough Starter - Day 0
Sourdough Starter - Day 0

Here I go again!
I'm creating a new sourdough starter from scratch, and I thought I should share the process. By "from scratch," I mean with just flour and water. I've seen recipes use active dry yeast, apples, grapes, or even 2 day old food, but your flour already has the yeast and bacteria you need. You just need to give them a hand! And be patient, as is the way of a good baker.
Recipe
pbv: part by volume
- 1 pbv flour (e.g. 1/2 c or 2.5 oz)
- 1 pbv water (e.g. 1/2 c or 4 oz)
- Thoroughly mix ingredients in a container and cover while still allowing air exchange (use a thin towel, paper towel, or an upside-down lid screwed on loosely).
- Let sit at room temperature for 12-24 hours.
- Mix up a new batch, stir old batch, add half the old to the new, and mix thoroughly.
- Repeat until starter doubles in volume between feedings.
- Refrigerate starter and feed weekly.
Comments
- Keep smelling the starter and keep a good eye on it. When done it should smell appetizingly sour.
- Warmer kitchens need more frequent feedings.
- This can take a week or two, and you can go through an entire bag of flour creating a new starter this way.
- Use the flour you're going to be baking with. If you want to bake with both whole wheat and unbleached, use 1/2 pbv of each. Using whole wheat also adds more food for different bacteria to eat.
- What we're doing here is cultivating all kinds of yeasts and bacteria that naturally occur on the flour and in your kitchen, and then we introduce them to a new environment full of food. Those yeasts and bacteria that eat the flour quickly should eventually win out, but that's not guaranteed.
- If you see mold or it smells like rot, discard and start over. You might need to feed more often.
Other Pics

0
comments